Key Takeaways
- Learn how to remove dry erase marker stains from clothes?
- Quick action is crucial to prevent permanent staining.
- Several household items can effectively remove dry erase marker stains.
- Following the right steps ensures clothes are restored without damage.
Introduction
I think it is well known that removing dry erase marker stains from clothes can be challenging, but with the right techniques, you can save your favorite garments. In this guide, I tried to cover effective methods to tackle these stubborn stains, ensuring your clothes look as good as new.
Part 1: Understanding Dry Erase Marker Stains
What Makes Dry Erase Marker Stains Difficult to Remove?
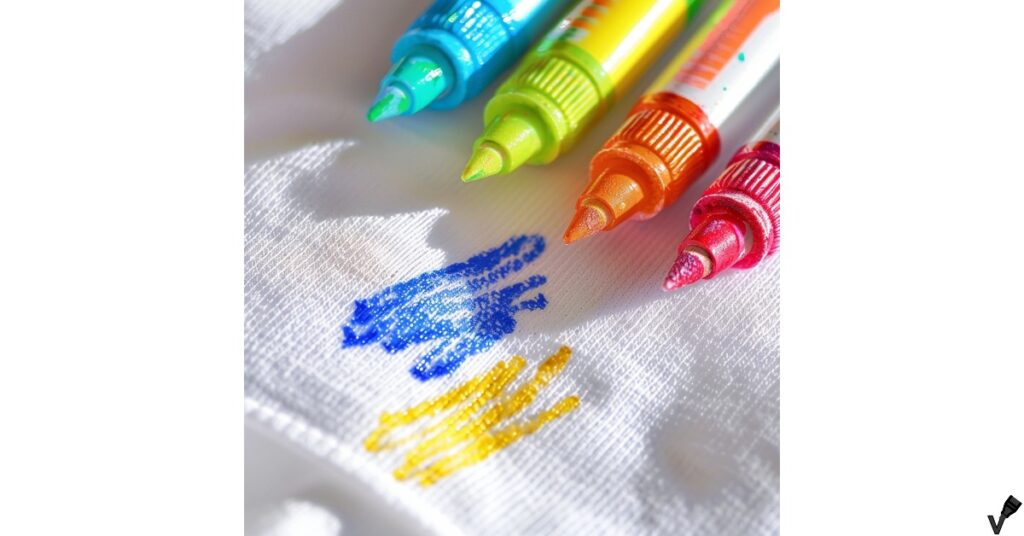
Dry erase markers like Sharpie for example are notorious for their tough stains. The markers are usually made from pigments, a solvent, and a release agent that makes the ink wipeable from non-porous surfaces but troublesome on fabrics. The solvent helps the ink to spread easily and adhere to fabric fibers. Synthetic fabrics like polyester are more prone to retaining these stains compared to natural fibers like cotton.
One of the trickiest things about dry erase marker stains is the combination of pigments and oils. These markers are designed to be easily wiped off non-porous surfaces, but fabrics absorb the ink quickly. The pigments provide the color, while the solvent and oils make the ink fluid and fast-drying. Once these components seep into the fabric, they create a stubborn stain that clings tightly to fibers.
Why Quick Action is Important
The longer a stain sits, the harder it becomes to remove. Dry erase marker stains can set into fabric fibers quickly. Acting immediately by blotting and pre-treating the stain can significantly increase your chances of complete removal.
When a stain first happens, you need to act fast. As the stain dries, it penetrates deeper into the fabric, making it much harder to remove. I’ve found that immediate action—like blotting with a paper towel or cloth—can make a huge difference. It’s all about keeping the stain from setting, which is why you should always have a stain removal plan ready.
Part 2: Pre-Treatment Techniques
Blotting the Stain
Blotting is the first step you should take when dealing with a fresh stain. Use a clean cloth or paper towel to gently blot the stain from the edges towards the center, preventing it from spreading. Avoid rubbing as it can push the ink deeper into the fabric fibers.
Blotting may seem simple, but it’s incredibly effective. The goal here is to lift as much of the marker ink as possible without spreading it further. Always start at the edges of the stain and work your way inward. By doing this, you minimize the risk of enlarging the stain. I’ve personally found that using a white cloth or paper towel helps to see the amount of ink being absorbed, ensuring you don’t accidentally spread the stain.
Using Isopropyl Alcohol
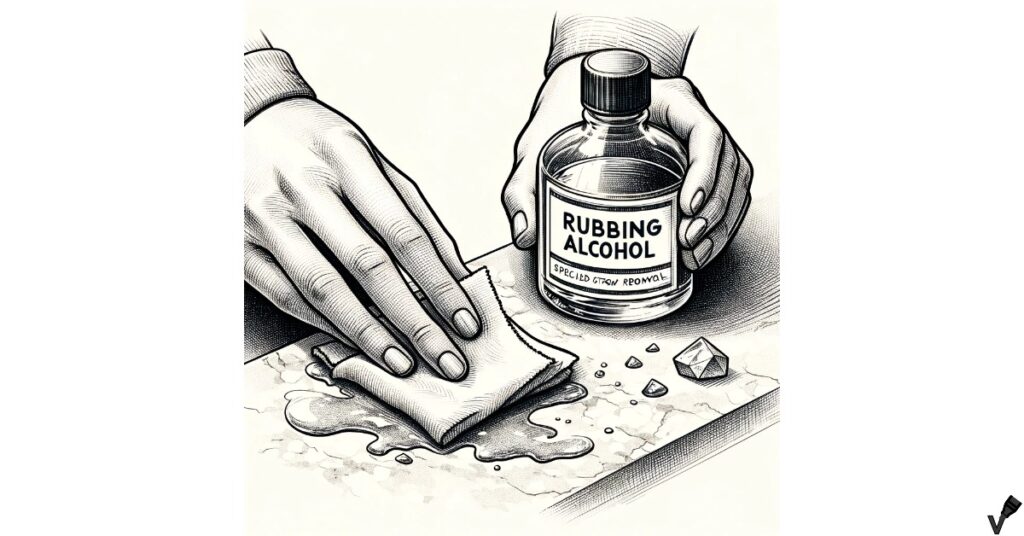
Isopropyl alcohol is highly effective on dry erase marker stains. Here’s how to use it:
- Place a paper towel or cloth under the stained area.
- Dab isopropyl alcohol on the stain using a cotton ball.
- Blot the stain gently, allowing the alcohol to break down the ink.
- Rinse with cold water and repeat if necessary.
Isopropyl alcohol works well on most fabrics, but always test on a small hidden area first. The key is to use enough alcohol to break down the ink without soaking the fabric. I’ve often found that repeating the process several times can completely remove the stain. Make sure to rinse thoroughly to avoid any lingering alcohol smell.
Applying White Vinegar
White vinegar is another great household item for stain removal.
- Mix equal parts white vinegar and water.
- Apply the solution to the stain using a spray bottle or cloth.
- Let it sit for a few minutes.
- Blot the stain with a clean cloth, then rinse with cold water.

Vinegar is safe for most fabrics and helps break down the stain without causing damage. Its acidity helps to break down the ink’s chemical bonds. In my experience, it’s a gentle yet effective option, especially for more delicate fabrics. Always rinse well to ensure no vinegar smell remains on the fabric.
Utilizing Hand Sanitizer
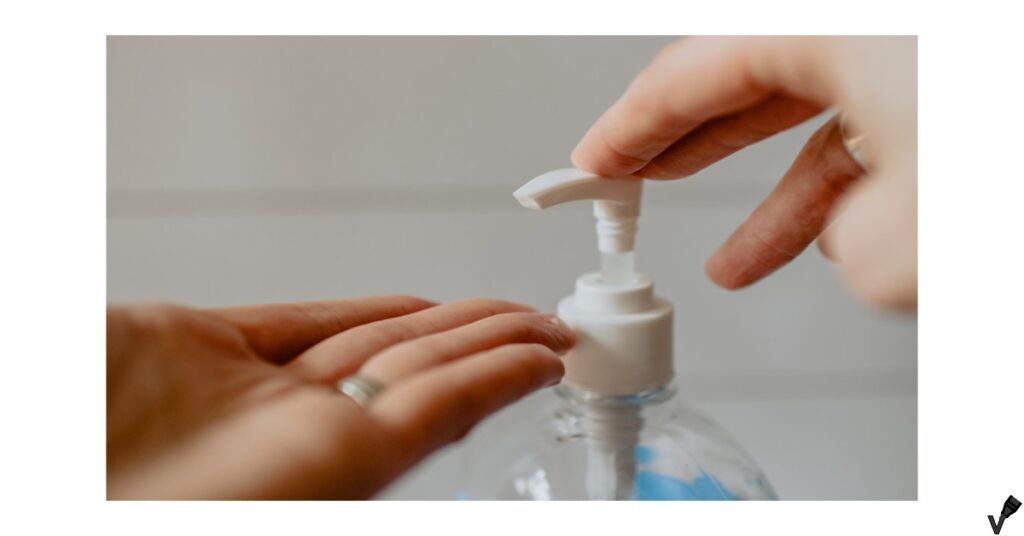
Hand sanitizer contains alcohol, making it effective for stain removal.
- Apply a small amount of hand sanitizer directly to the stain.
- Blot the area gently with a clean cloth.
- Rinse with cold water.
Hand sanitizer is convenient and works quickly, but be sure to use it in moderation to avoid fabric damage. The gel consistency helps it stay in place on the stain, allowing the alcohol to work its magic. I’ve found it particularly handy when I’m on the go and need a quick fix for an unexpected stain.
Part 3: Washing Methods
Choosing the Right Detergent
Select a strong detergent designed for tough stains. Enzyme-based detergents are particularly effective as they break down proteins and other complex molecules in the stain. Apply detergent directly to the stain and let it sit for a few minutes before washing.
When choosing a detergent, look for ones labeled as heavy-duty or designed for stain removal. Enzymes in these detergents break down stains at a molecular level. Personally, I’ve seen the best results with these types of detergents, especially when combined with pre-treatment methods.
The Role of Stain Removers
Stain removers can boost your washing routine. Popular options like OxiClean and Shout are known for their effectiveness. Apply the stain remover following the product instructions, usually by spraying or rubbing it onto the stain and letting it sit before washing.
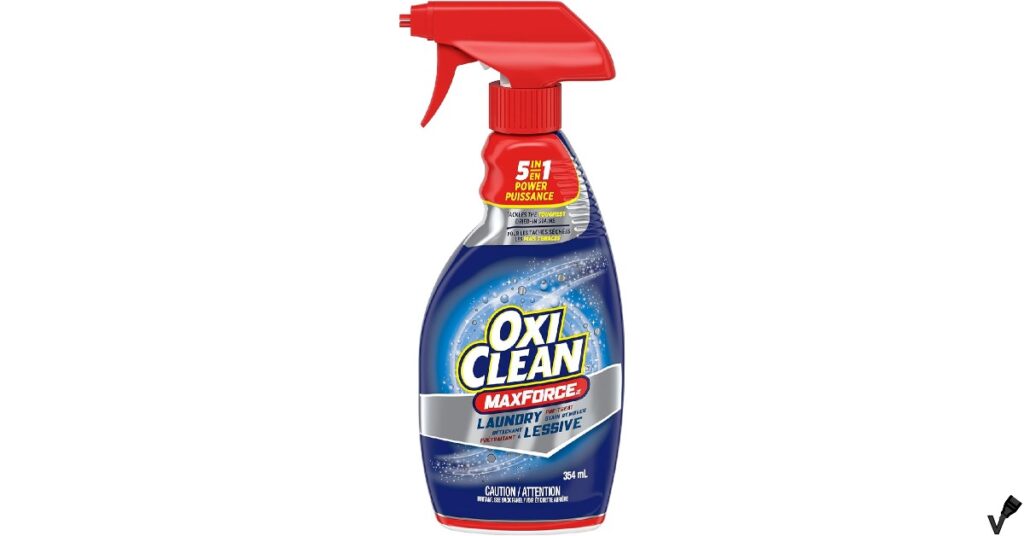
Using a good stain remover can be a game-changer. I typically apply it directly to the stain and give it time to work its magic before washing. The enzymes and chemicals in these removers break down tough stains that regular detergent might not handle. I’ve had great success with products like OxiClean, which seem to tackle even the most stubborn marks.
Washing and Drying Instructions
For the best results, use the appropriate washing machine settings.
- Use warm water to help break down the stain.
- Avoid overloading the machine to ensure the garment gets proper agitation.
- After washing, inspect the stain before drying. Air drying is preferred as heat from a dryer can set any remaining stain. If you must use a dryer, opt for a low heat setting.
Choosing the right washing settings can make a big difference. Warm water helps to dissolve the stain, while a proper load size ensures enough agitation for effective cleaning. I always recommend air drying stained clothes first; it gives you a chance to check if the stain is completely gone. Using high heat too soon can set any remaining stain, making it nearly impossible to remove.
Part 4: Alternative Solutions
Baking Soda and Water Paste
Create a paste with baking soda and water.
- Apply the paste to the stain and let it sit for 30-60 minutes.
- Scrub gently with a soft brush.
- Rinse and wash as usual.
This method works well for light stains and can be repeated if necessary. Baking soda is a natural abrasive and can lift stains effectively. I’ve used this method on various fabrics with good results, particularly for smaller, less intense stains.
Milk Soak Method
Soaking the stained fabric in milk can be surprisingly effective.
- Submerge the stained area in a bowl of milk.
- Let it soak for an hour.
- Rinse and wash as usual.
The enzymes in milk help break down the ink, making it easier to remove. This method is gentle and safe for most fabrics. It’s a bit unconventional, but I’ve found it works surprisingly well on stubborn stains. Plus, milk is readily available in most households.
Using Commercial Stain Removers
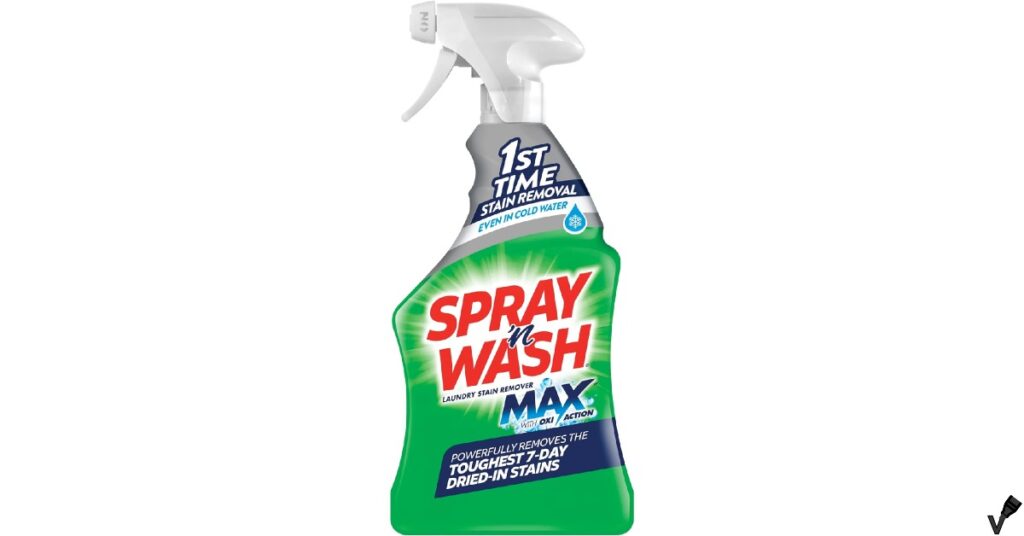
Commercial products like Spray ‘n Wash, Zout, and Carbona are designed for tough stains.
- Follow the instructions on the product label.
- Typically, this involves applying the product directly to the stain and letting it sit before washing.
Each product has its pros and cons, so choose one based on the type of fabric and severity of the stain. These products are formulated specifically for stain removal and can be highly effective. I’ve tried several brands and found that they all have their strengths depending on the stain and fabric type.
Part 5: Preventive Measures
Protective Clothing Options
To prevent marker stains, wear protective clothing like aprons or old clothes when using dry erase markers. Protective sprays can also be applied to fabrics to create a barrier against stains.
Wearing an apron or using old clothes can save your favorite outfits from unexpected stains. I’ve learned this the hard way and now always keep a spare apron handy when I’m using markers. It’s a simple but effective way to prevent stains.
Best Practices for Using Dry Erase Markers
Avoid accidental stains by being mindful when using markers.
- Cap markers immediately after use.
- Keep them away from clothing.
- Use a designated board-cleaning cloth instead of your clothes.
Being cautious with markers can go a long way in preventing stains. I always make sure to recap markers right after use and keep them at a distance from my clothes. Using a separate cloth for cleaning the board can also prevent ink transfer to your garments.
Conclusion
I would say finally that removing dry erase marker stains from clothes doesn’t have to be a daunting task. With quick action and the right techniques, you can restore your garments to their former glory, like I was able to successfully. Experiment with different methods to find what works best for you, and remember to take preventive measures to avoid future stains. Happy cleaning!
FAQs
-
How can I remove old dry erase marker stains from clothes?
To remove old dry erase marker stains, use a combination of isopropyl alcohol and a strong detergent. Apply alcohol, blot gently, then wash with a strong detergent in warm water. Repeat if necessary until the stain is completely gone. -
Can dry erase marker stains be removed from all types of fabrics?
Most fabrics can be treated for dry erase marker stains, but delicate materials such as silk and wool may require professional cleaning. Always test any cleaning method on a small, hidden area first to ensure it doesn’t damage the fabric. -
What household items are best for removing dry erase marker stains?
Effective household items for removing dry erase marker stains include isopropyl alcohol, white vinegar, baking soda, and hand sanitizer. Each of these items has unique properties that help break down the stain, making it easier to remove. -
Why is it important to act quickly on dry erase marker stains?
Acting quickly is crucial because dry erase marker stains can set into the fabric fibers very fast. Immediate action, such as blotting and pre-treating the stain, significantly increases the chances of complete removal before the stain becomes permanent. -
Can I use regular detergent to remove dry erase marker stains?
While regular detergent can help, using a strong, enzyme-based detergent designed for tough stains is more effective. These detergents break down the ink at a molecular level, making it easier to wash out completely.

