
Key Highlights
- Posca Paint Mark are versatile art markers that can be on a wide range surfaces.
- These markers are known for their and highly pigmented acrylic paint.
- They are popular among artists and can be for various techniques and projects- Posca Painters come in different and nib shapes, allowing for different styles and.
- They are and easy to use making them a great choice for beginners in the art world.
- The paint in Posca markers is-resistant and can be, mixed, and blended for unique artwork.
Introduction
Posca Paint Markers are a mainstay in my art supplies small and modest arsenal because of their excellent acrylic paint quality and adaptability. These markers make painting on a variety of surfaces easier for me and eliminate the typical clutter that comes with traditional painting. Posca Markers are ideal for adding vivid colors and fine details to your work, regardless of your level of artistic skill, mine is not that high.
What sets Posca Markers apart for me is their opaque, richly pigmented paint. The colors stand out strikingly on any surface, even on dark or textured ones. The water-based acrylic paint dries quickly and resists fading, ensuring that your artwork remains vibrant over time.
I find these markers incredibly user-friendly, and my kids can also approve, so I don’t think prior painting skills are needed to start creating stunning art, they are right for all skill levels, featuring a wide range of colors and tip shapes that open up endless creative possibilities and projects.
I have used Posca Markers on a variety of surfaces, including porcelain, cardboard, canvas, and even polymer clay, for everything from calligraphy to mixed-media artwork done with the kids. They are essential for any artist because of their versatility.
Understanding Posca Paint Markers
Posca Paint Markers, or paint pens as some call them, are a game-changer in my art practice. They allow me to use real paint in a convenient marker form. Filled with water-based acrylic paint, these markers deliver vibrant and opaque colors, very much like traditional acrylic paint but more fluid.
I appreciate Posca Markers because they combine the ease of a marker with the rich effects of acrylic paint. The water-based paint is a breeze to apply and dries quickly, letting me work swiftly on my projects. Plus, they’re free from any harsh odors since they don’t contain alcohol or solvents.
These markers are a safe option for artists of all ages because the paint is non-toxic. I have applied them to almost everything, including cardboard, paper, fabric, canvas, glass, metal, and plastic. The paint’s opacity guarantees that the colors stand out brilliantly on these materials.
Posca Markers are incredibly versatile too. I can layer, mix, and blend the paint while it’s wet to create different effects and textures. Just like with regular acrylics, I can manipulate the paint with water, exploring a variety of techniques and styles.
Posca Paint Markers, in my opinion, are a necessary tool for everybody involved in the arts, whether they work as professionals, hobbyists, or craftspeople. They genuinely provide fresh avenues for artistic expression.
The Basics of Posca Markers
Posca markers are a staple in my art tools collection because of their amazing adaptability to a variety of mediums and art styles. Artists working on mixed-media projects really love them.
Posca Markers are unique in that they may be used on a variety of surfaces. These markers work amazingly well on a variety of surfaces, including paper, cardboard, canvas, and even metal, enabling artists like me to create designs on nearly any material. These markers’ opaque and highly pigmented paint ensures that colors stand out brilliantly on any surface.
Using Posca Markers is remarkably straightforward—a simple shake and press, and the paint flows smoothly from the tip, enabling precise line work and effortless filling of larger areas. They come in a range of nib sizes and shapes, which is great for achieving both fine details and broad strokes.
Posca Markers are revolutionary for anybody interested in illustrations, paintings, or mixed-media artwork. They provide you with a great deal of creative freedom, enabling you to embellish your products with vibrant colors and detailed features. In my perspective, there are a plethora of creative expression options available with these markers.
Different Types and Their Uses
Posca Markers come in different types and nib shapes, each serving a specific purpose in the creative process. Here are the different types of Posca Markers and their uses:
- Brush Tip (PCF-350): This marker has a brush tip that allows for variable width strokes, making it ideal for calligraphy and coloring.
- Chisel Tip (PC-8K): The chisel tip of this marker is perfect for laying down lots of color and creating precise lines. It’s popular among lettering artists.
- Broad Chisel Tip (PC-7M): This marker has a broad chisel tip, making it suitable for large-format work and filling in larger areas.
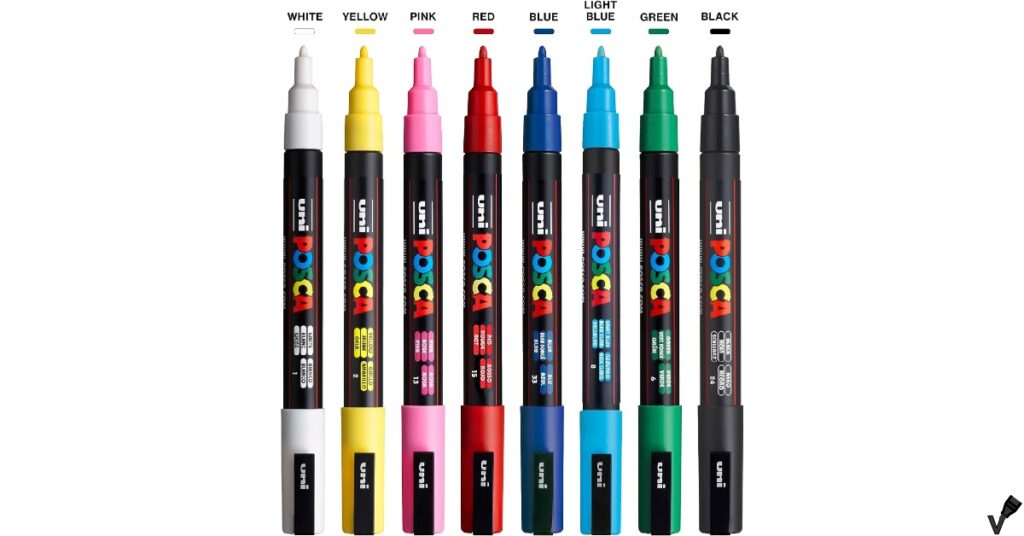
- Fine Tip (PC-3M): The fine tip of this marker allows for both line work and coloring smaller areas. It’s versatile and commonly used by illustrators and fine artists.
- Rectangular XXL Tip (PC-17K): This marker has an extra broad chisel tip, also known as a rectangular XXL tip. It’s ideal for laying down lots of color and creating large-scale artworks.
Each type of Posca Marker offers unique possibilities and effects, allowing artists to explore different styles and techniques in their artwork.
Preparing Your Workspace
Before you start using Posca Markers, it’s important to prepare your workspace and gather the necessary art supplies. Here are a few tips to help you set up for a successful painting session:
- Clear your workspace: Make sure you have enough space to work comfortably and organize your art supplies.
- Protect your surfaces: Lay down a protective covering, such as a plastic sheet or newspapers, to prevent any paint from staining your working area.
- Gather your Posca Markers: Have your Posca Markers ready and organized by color or type for easy access during your painting session.
- Prepare your materials: If you’re working on a specific surface, such as rocks or canvas, make sure it’s clean and prepped according to the surface’s requirements.
By preparing your workspace and having all your supplies ready, you can focus on your artwork and enjoy the creative process without any distractions.
Essential Supplies for Using Posca Markers
When using Posca Markers, there are a few essential supplies that can enhance your painting experience. Here are some must-have items:
- Posca Markers: Of course, you’ll need the Posca Markers themselves in various colors and nib sizes to suit your artistic needs.
- Sketchbook or paper: A sketchbook or high-quality paper is essential for practicing and creating artwork with Posca Markers.
- Palette or mixing tray: If you plan on mixing colors or creating custom shades, a palette or mixing tray will come in handy.
- Paintbrushes: Although Posca Markers have built-in nibs, having a few paintbrushes of different sizes can help you achieve different textures and effects in your artwork.
- Spray varnish: If you want to protect your finished artwork and make it more durable, a spray varnish specifically designed for acrylic paint is recommended.
By having these essential supplies on hand, you can fully unleash your creativity and explore the possibilities of Posca Markers.
Setting Up for Success
When using Posca Markers, setting up your artwork for success can make a big difference in the final result. Here are a few tips to help you achieve the best outcome:
- Plan your composition: Before you start painting, have a clear idea of what you want to create. Sketch out your design or make a rough outline to guide you during the painting process.
- Start with light colors: If you’re working on a dark surface or plan to layer colors, start with lighter shades first. This will allow you to build up the colors gradually and prevent any unwanted blending.
- Work in layers: Posca Markers are opaque, so make use of this feature by layering the paint. This will help you achieve richer colors and add depth to your artwork.
- Experiment with different strokes: Posca Markers can create a variety of effects, from fine lines to broad strokes. Play around with different strokes and techniques to add interest and texture to your artwork.
By following these tips and setting up your artwork for success, you’ll be able to create beautiful and vibrant artwork using Posca Markers.
Getting Started with Posca Markers
Posca Markers offer endless possibilities for creative projects. Whether you’re into rock painting, calligraphy, or creating artwork on cardboard, these markers can help bring your ideas to life. Here’s how to get started with Posca Markers:
Step 1: Choosing Your Markers
Select the colors and nib sizes that suit your project. If you’re working on detailed artwork, fine tip markers like the PC-1MR or PC-1M would be ideal. For larger areas, consider markers with broader tips like the PC-5M or PC-7M.
Step 2: Testing on Various Surfaces
Before you start your actual project, it’s a good idea to do some test swatches on different surfaces. This will help you familiarize yourself with the markers and understand how they interact with different materials.
Step 3: Basic Techniques for Beginners
Start with basic techniques like broad strokes, fine lines, and blending colors. Experiment with the markers and explore different effects that can be achieved by varying pressure and stroke techniques.
Step 4: Advanced Techniques for More Complex Projects
Once you’re comfortable with the basics, you can move on to more advanced techniques like layering colors, creating gradients, and using masking techniques. These techniques will add depth and dimension to your artwork.
By following these steps and experimenting with different techniques, you’ll be well on your way to creating stunning artwork with Posca Markers.
Step 1: Choosing Your Markers
Choosing the right Posca Markers for your project is crucial for achieving the desired results. Here are some factors to consider when selecting your markers:
- Nib size: The nib size determines the width of the lines you can create. For detailed work, fine tip markers like the PC-1MR or PC-1M are suitable. For larger areas, consider markers with broader tips like the PC-5M or PC-7M.
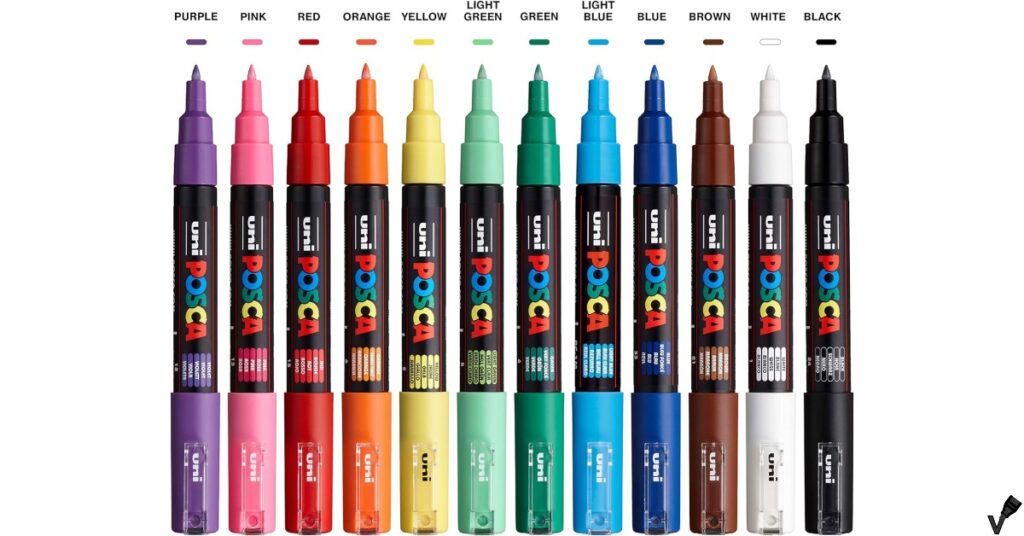
- Color range: Posca Markers come in a wide range of colors, allowing you to choose the ones that best match your artistic vision. Whether you prefer vibrant hues or subtle shades, there’s a color for every project.
- Brand comparison: While Posca Markers are widely popular, there are other brands available in the market, such as Molotow and Montana. It’s worth comparing the different brands to find the markers that best suit your needs and preferences.
Here’s a comparison table highlighting the features of Posca Markers, Molotow Markers, and Montana Markers:
| Marker Brand | Nib Sizes | Color Range | Opaque Paint |
| Posca | Fine to Broad | Wide range | Yes |
| Molotow | Extra Fine to Broad | Extensive | Yes |
| Montana | Extra Fine to Broad | Wide range | Yes |
By considering these factors and comparing different markers, you can choose the Posca Markers that are best suited for your artistic needs.
Step 2: Testing on Various Surfaces
Before starting your project, it’s important to test the Posca Markers on the surfaces you’ll be working on. This will give you a better understanding of how the markers behave on different materials and help you achieve the desired results.
Start by selecting a few different surfaces that you plan to work on, such as paper, cardboard, canvas, or even rocks. Create small test swatches on each surface using different colors and techniques. This will allow you to see how the markers interact with the material, how the colors appear, and how they dry.
Testing on various surfaces is especially important if you’re working with mixed media or if you want to ensure the longevity of your artwork. It will help you determine if any surface preparation is required, such as applying a base coat or using a fixative.
Additionally, if you’re planning to display or sell your artwork, it’s important to consider the lightfastness of the Posca Markers. Some markers may fade over time when exposed to sunlight, so it’s worth testing them on a small area and monitoring their longevity.
By testing Posca Markers on different surfaces, you can gather valuable information and make informed decisions for your projects.
Step 3: Basic Techniques for Beginners
Posca Markers offer a wide range of techniques that can be used to create beautiful artwork. Here are some basic techniques for beginners to get started:
- Broad strokes: Use the broad tip of the marker to create bold and expressive strokes. This technique is great for filling in large areas or adding dynamic elements to your artwork.
- Fine lines: Utilize the fine tip of the marker to create precise and intricate lines. This technique is ideal for adding details and fine textures to your artwork.
- Blending: Experiment with blending colors together by layering them while wet. This technique allows you to create smooth gradients and transitions between different shades.
- Cross-hatching: Cross-hatching involves drawing parallel lines in different directions to create shading and texture. This technique adds depth and dimension to your artwork.
By practicing these basic techniques, you can become more familiar with the capabilities of Posca Markers and develop your own unique style.
Step 4: Advanced Techniques for More Complex Projects
Once you’ve mastered the basic techniques, you can explore more advanced techniques to take your artwork to the next level. Here are some advanced techniques for more complex projects:
- Mixed media: Combine Posca Markers with other art mediums, such as acrylic paint, colored pencils, or pastels. This technique allows you to create layered and textured artwork.
- Stenciling: Use stencils to create precise shapes and patterns with Posca Markers. This technique is perfect for adding intricate details to your artwork.
- Splatter technique: Dip the tip of a brush into Posca Marker ink and flick it onto your surface to create a splatter effect. This technique adds a dynamic and lively touch to your artwork.
- Masking: Use masking tape or adhesive stencils to create masked areas on your surface. This technique allows you to paint around the masked areas and achieve clean and sharp edges.
By experimenting with these advanced techniques, you can push the boundaries of your creativity and create unique and captivating artwork with Posca Markers.
Maintenance and Care for Posca Markers
Proper maintenance and care are essential to ensure the longevity of your Posca Markers and maintain their performance. Here are some tips for maintaining and caring for your markers:
- Recap after use: Always remember to recap your markers after each use to prevent them from drying out.
- Shake well: Before using your markers, shake them well to ensure that the paint is properly mixed.
- Store horizontally: Store your markers horizontally to maintain an even flow of paint. This prevents any ink from settling or drying out in one area of the marker.
- Clean the nibs: If you notice any build-up or clogging on the nibs, clean them by wiping them with a damp cloth or paper towel.
- Replace worn nibs: Over time, the nibs may become worn or frayed. Posca Markers offer replaceable nibs, so if your nibs start to deteriorate, simply replace them to maintain optimal performance.
- Prevent drying out: To prevent your markers from drying out, use them regularly and store them in a cool and dry place. Avoid exposing them to extreme temperatures or direct sunlight.
By following these maintenance and care tips, you can extend the life of your Posca Markers and ensure that they continue to deliver vibrant and consistent results in your artwork.
Cleaning Tips
Cleaning your Posca Markers is an important part of their maintenance and care. Here are some tips for cleaning your markers:
- Clean the nibs: If the nibs become dirty or clogged, wipe them gently with a damp cloth or paper towel. This will help remove any excess paint or debris.
- Flush with water: If the nibs are severely clogged or the markers are not performing well, you can flush them with water. Remove the nibs and soak them in water for a few minutes. Then, rinse them thoroughly and reattach them to the markers.
- Store properly: After cleaning, make sure to store your markers horizontally to prevent ink from settling or drying out.
Regular cleaning and proper storage will ensure that your Posca Markers continue to work effectively and provide vibrant colors for your artwork.
Storage and Longevity
Proper storage is crucial for maintaining the longevity of your Posca Markers. Here are some tips for storing your markers:
- Store horizontally: Store your markers horizontally to maintain an even flow of paint. This prevents any ink from settling or drying out in one area of the marker.
- Avoid extreme temperatures: Avoid storing your markers in areas with extreme temperatures, as this can affect the quality and performance of the paint.
- Protect from sunlight: Direct sunlight can cause the paint to fade and the markers to dry out. Store your markers in a cool and dry place away from direct sunlight.
By following these storage tips, you can ensure the longevity of your Posca Markers and continue to create vibrant artwork for years to come.
Project Ideas to Get You Started
Posca Markers offer endless possibilities for creative projects. Whether you’re a beginner looking for simple ideas or an experienced artist wanting to explore new techniques, here are some project ideas to get you started:
- Rock painting: Decorate rocks with vibrant colors and intricate designs using Posca Markers. This is a fun and relaxing project that allows you to create unique and personalized pieces of art.
- Calligraphy: Use Posca Markers to practice calligraphy and create beautiful lettering designs. The opaque and highly pigmented paint of Posca Markers allows for crisp and bold lettering.
- Cardboard artwork: Transform plain cardboard into stunning artwork by using Posca Markers to create patterns, illustrations, or abstract designs.
These project ideas are just the beginning. Let your creativity flow and explore the endless possibilities of Posca Markers in your artwork.
Simple Projects for Beginners
If you’re a beginner, here are some simple project ideas to try with Posca Markers:
- Rock painting: Collect some smooth rocks and decorate them with colorful designs using Posca Markers. This is a great project for practicing different strokes and techniques.
- Calligraphy practice: Use Posca Markers to practice your calligraphy skills. Start with simple lettering exercises and gradually move on to more complex designs.
- Customized cards: Create personalized greeting cards by drawing or writing messages with Posca Markers. You can add colorful illustrations and designs to make your cards truly unique.
These simple projects are a great way to familiarize yourself with Posca Markers and gain confidence in using them for more complex artwork.
Intermediate Challenges to Improve Your Skills
Once you have some experience with Posca Markers, challenge yourself with these intermediate project ideas:
- Mixed media artwork: Combine Posca Markers with other art mediums, such as acrylic paint or colored pencils, to create mixed media artwork. Experiment with different techniques and textures to create unique and visually interesting pieces.
- Abstract painting: Let your creativity flow by creating abstract artwork with Posca Markers. Explore different mark-making techniques, layering colors, and experimenting with shapes and patterns.
- Illustration series: Create a series of illustrations using Posca Markers. This project allows you to develop a cohesive theme or narrative while exploring different styles and techniques.
These intermediate challenges will help you push your artistic boundaries and further develop your skills with Posca Markers.
Troubleshooting Common Issues
While working with Posca Markers, you may encounter some common issues. Here are a few troubleshooting tips to help you overcome these challenges:
Fixing Mistakes and Smudges
Mistakes and smudges are common when working with any art medium, including Posca Markers. Here’s how to fix them:
- Correcting mistakes: If you make a mistake, gently scrape off the paint using a razor blade or the edge of a credit card. Be careful not to damage the surface or leave any scratches.
- Smudge prevention: To prevent smudging, make sure each layer of paint has dried completely before adding another layer on top. You can also use a fixative spray to protect your artwork and minimize smudging.
Taking these steps will help you fix mistakes and prevent smudges, allowing you to create clean and polished artwork with Posca Markers.
Reviving Dried Out Markers
If your Posca Markers have dried out, there are a few methods you can try to revive them:
- Shake vigorously: Shake the marker vigorously to try and loosen the dried paint inside the nib.
- Soak in water: Remove the nib and soak it in water for a few minutes. This can help rehydrate the dried paint and make it flow again.
- Reink with water: If the above methods don’t work, you can try reinking the marker by adding a few drops of water or acrylic paint directly into the marker barrel. Shake well to mix the paint.
These methods may help revive dried-out Posca Markers, but keep in mind that the results may vary. It’s always a good idea to store your markers properly and use them regularly to prevent them from drying out.
Conclusion
To sum up, mastering Posca Paint Markers opens up a whole new world of creative possibilities. I try to follow, as much as possible, those steps to extend the life of those markers. And if you do as well, then you are ready for creative success if you have a ton of project ideas and problem-solving techniques. So gather your supplies, set up your workplace, and use Posca markers to unleash your creative side. Enter the vibrant world of art and let your creativity to run wild on a variety of mediums. Discover the endless possibilities these markers offer, regardless of your level of experience as an artist. Begin your journey right now with Posca!
Frequently Asked Questions
-
Can Posca markers be used on fabric?
Yes, Posca Markers can be used on fabric. However, keep in mind that the paint may not be as permanent as when used on other surfaces. It’s recommended to heat-set the fabric after painting with Posca Markers to improve the longevity of the artwork. -
How long do Posca markers take to dry?
Posca Markers dry relatively quickly due to their water-based acrylic paint. The drying time may vary depending on factors such as the thickness of the paint and the material it’s applied to. It’s best to let the artwork dry completely before applying additional layers or details. -
Are Posca markers waterproof?
Posca Markers are water-based and not inherently waterproof. However, once the paint has dried, it becomes water-resistant. For enhanced waterproof qualities, especially on surfaces like ceramics or glass, applying a clear sealer over the artwork is advisable. -
Can the nibs of Posca markers be replaced or refilled?
Yes, the nibs of Posca Markers can be replaced, and the markers themselves can be refilled. This makes Posca Markers a more sustainable option, as it reduces waste and extends the life of the markers. Replacement nibs and refills are available for purchase separately.